


Introduction
Your tent is your home away from home when you're out exploring. Keeping it clean not only ensures a comfortable camping experience but also extends its lifespan. In this comprehensive guide, we'll delve into the step-by-step process of cleaning your tent properly, equipped with the essential tools and knowledge to maintain its quality and functionality.
Related: Top 10 Tents for 2024
Step 1: Assemble Your Cleaning Arsenal: Before embarking on your tent-cleaning journey, gather the following supplies:
- Mild soap: Opt for a gentle, biodegradable soap suitable for outdoor gear to avoid damaging your tent's fabric or waterproof coating.
- Soft brush or sponge: Choose a brush with soft bristles or a sponge to gently scrub away dirt and stains without causing damage.
- Hose or bucket of water: You'll need a source of clean water for rinsing your tent after cleaning. A garden hose or a bucket of lukewarm water will suffice.
- Cloth for drying: Prepare a clean, absorbent cloth to dry your tent after cleaning, ensuring it's free of moisture before storage.
- Drying rack or clothesline: Set up a drying area in a shaded spot, away from direct sunlight, where you can hang your tent to air dry thoroughly.
- Tent repair kit: Keep a repair kit handy to address any minor damages or tears during the cleaning process, ensuring your tent remains in top condition. Check out some of Terra-Nova's superb repair gear!
- Storage sack or mesh bag: Choose a breathable storage solution to keep your tent well-ventilated during storage, preventing mold and mildew growth.
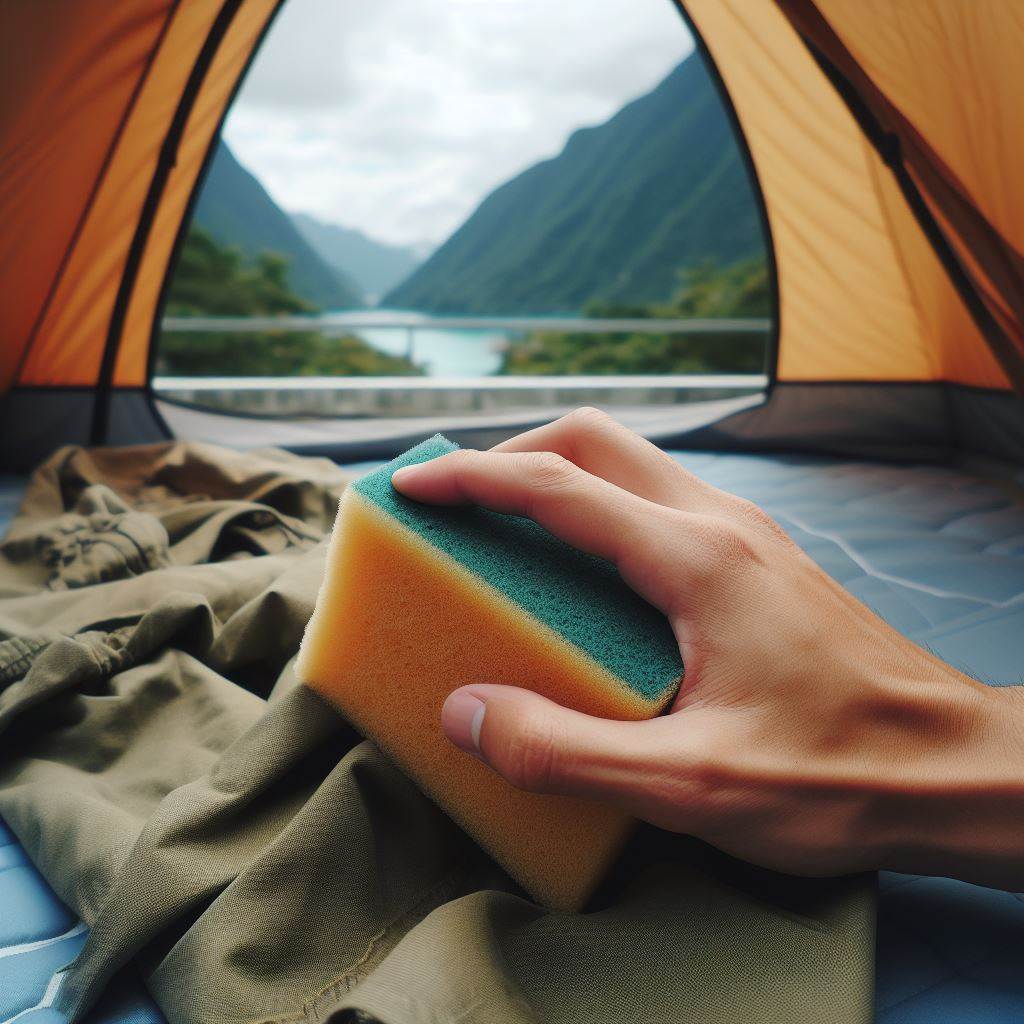
Step 2: Spot Cleaning Troublesome Areas: Start by inspecting your tent for any specific stains or spots. Prepare a mixture of mild soap and lukewarm water and use a soft brush or sponge to gently scrub the affected areas. Pay close attention to heavily soiled spots, such as mud-caked corners or food spills.
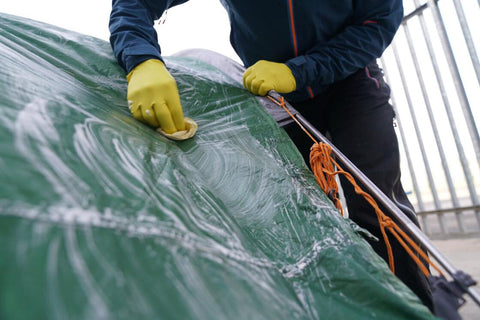
Step 3: Full Cleaning Session: Once you've tackled the trouble spots, it's time for a comprehensive cleaning of your entire tent. Set up your tent in a spacious, well-ventilated area and remove any loose dirt or debris with a soft brush or by shaking it out. Using the mild soap solution, sponge down the entire exterior of the tent, ensuring thorough coverage.
Step 4: Rinse Away Soap Residue: After cleaning, rinse the tent thoroughly with clean water to remove any lingering soap residue. Use a gentle spray from a hose or a bucket of water, ensuring all traces of soap are flushed out from the fabric. Avoid high-pressure water, as it may damage the tent's seams or waterproof coatings.
Step 5: Drying for Success: Proper drying is essential to prevent mold and mildew growth. Hang your tent on a drying rack or clothesline in a shaded area, away from direct sunlight. Allow it to air dry completely, including the seams and corners, before storing it away. Use a clean, dry cloth to gently wipe down the poles and stakes, ensuring all moisture is removed.
Step 6: Repair and Restore: Take this opportunity to inspect your tent for any signs of damage, such as tears or worn seams. Utilize your tent repair kit to address any minor repairs promptly, ensuring your tent remains resilient against the elements for future adventures.

Step 7: Store with Care: Once your tent is clean, dry, and in good repair, pack it away for storage. Choose a cool, dry location away from direct sunlight and moisture. Avoid compressing the tent too tightly, as this may damage the fabric and coatings over time. Opt for a breathable storage sack or mesh bag to maintain airflow and prevent mustiness.
How to clean every Nook & Cranny
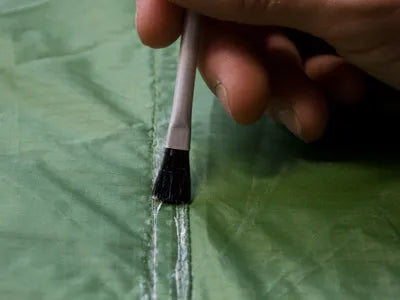
1. Zips are prone to dirt and debris build-up, affecting their functionality. Use a soft brush or toothbrush to gently scrub along the zipper teeth, removing any lodged dirt or grime. For stubborn residue, apply a small amount of zipper lubricant to keep them running smoothly.
2. Vents are essential for airflow and ventilation in your tent. Inspect and clean them regularly to prevent blockages. Use a soft brush or cloth to wipe away dust and debris from both the interior and exterior vent flaps. Ensure they remain unobstructed for optimal airflow.
3. The flysheet shields your tent from the elements, so keeping it clean is crucial. Set up your tent and remove the flysheet. Use a mild soap solution and a soft brush or sponge to clean both sides of the flysheet thoroughly. Pay attention to seams and areas with stubborn stains. Rinse with clean water and air dry completely before reattaching to the tent.
4. The footprint protects the tent floor from abrasion and moisture. Lay it out flat and scrub gently with mild soap and water using a soft brush or sponge. Pay close attention to areas with visible dirt or stains. Rinse thoroughly and air dry before storing. Ensure the footprint is completely dry to prevent mold growth.
5. The main body of your tent requires careful attention to maintain its integrity. Spot clean any visible stains using a mild soap solution and a soft brush or sponge. Pay attention to high-traffic areas, such as doorways and sleeping areas. Rinse thoroughly with clean water and air dry completely before packing away.
6. While not part of the tent fabric, poles and stakes also benefit from cleaning. Wipe them down with a damp cloth to remove any dirt or debris. Inspect for signs of rust or damage and address promptly. Ensure they are completely dry before storing to prevent corrosion.

Conclusion
Cleaning your tent is a vital aspect of responsible outdoor gear maintenance, ensuring it remains a reliable shelter for countless adventures ahead. By following this comprehensive guide and utilizing the right tools and techniques, you can keep your tent fresh, functional, and ready for whatever nature throws your way. So, roll up your sleeves, gather your cleaning supplies, and give your tent the TLC it deserves.